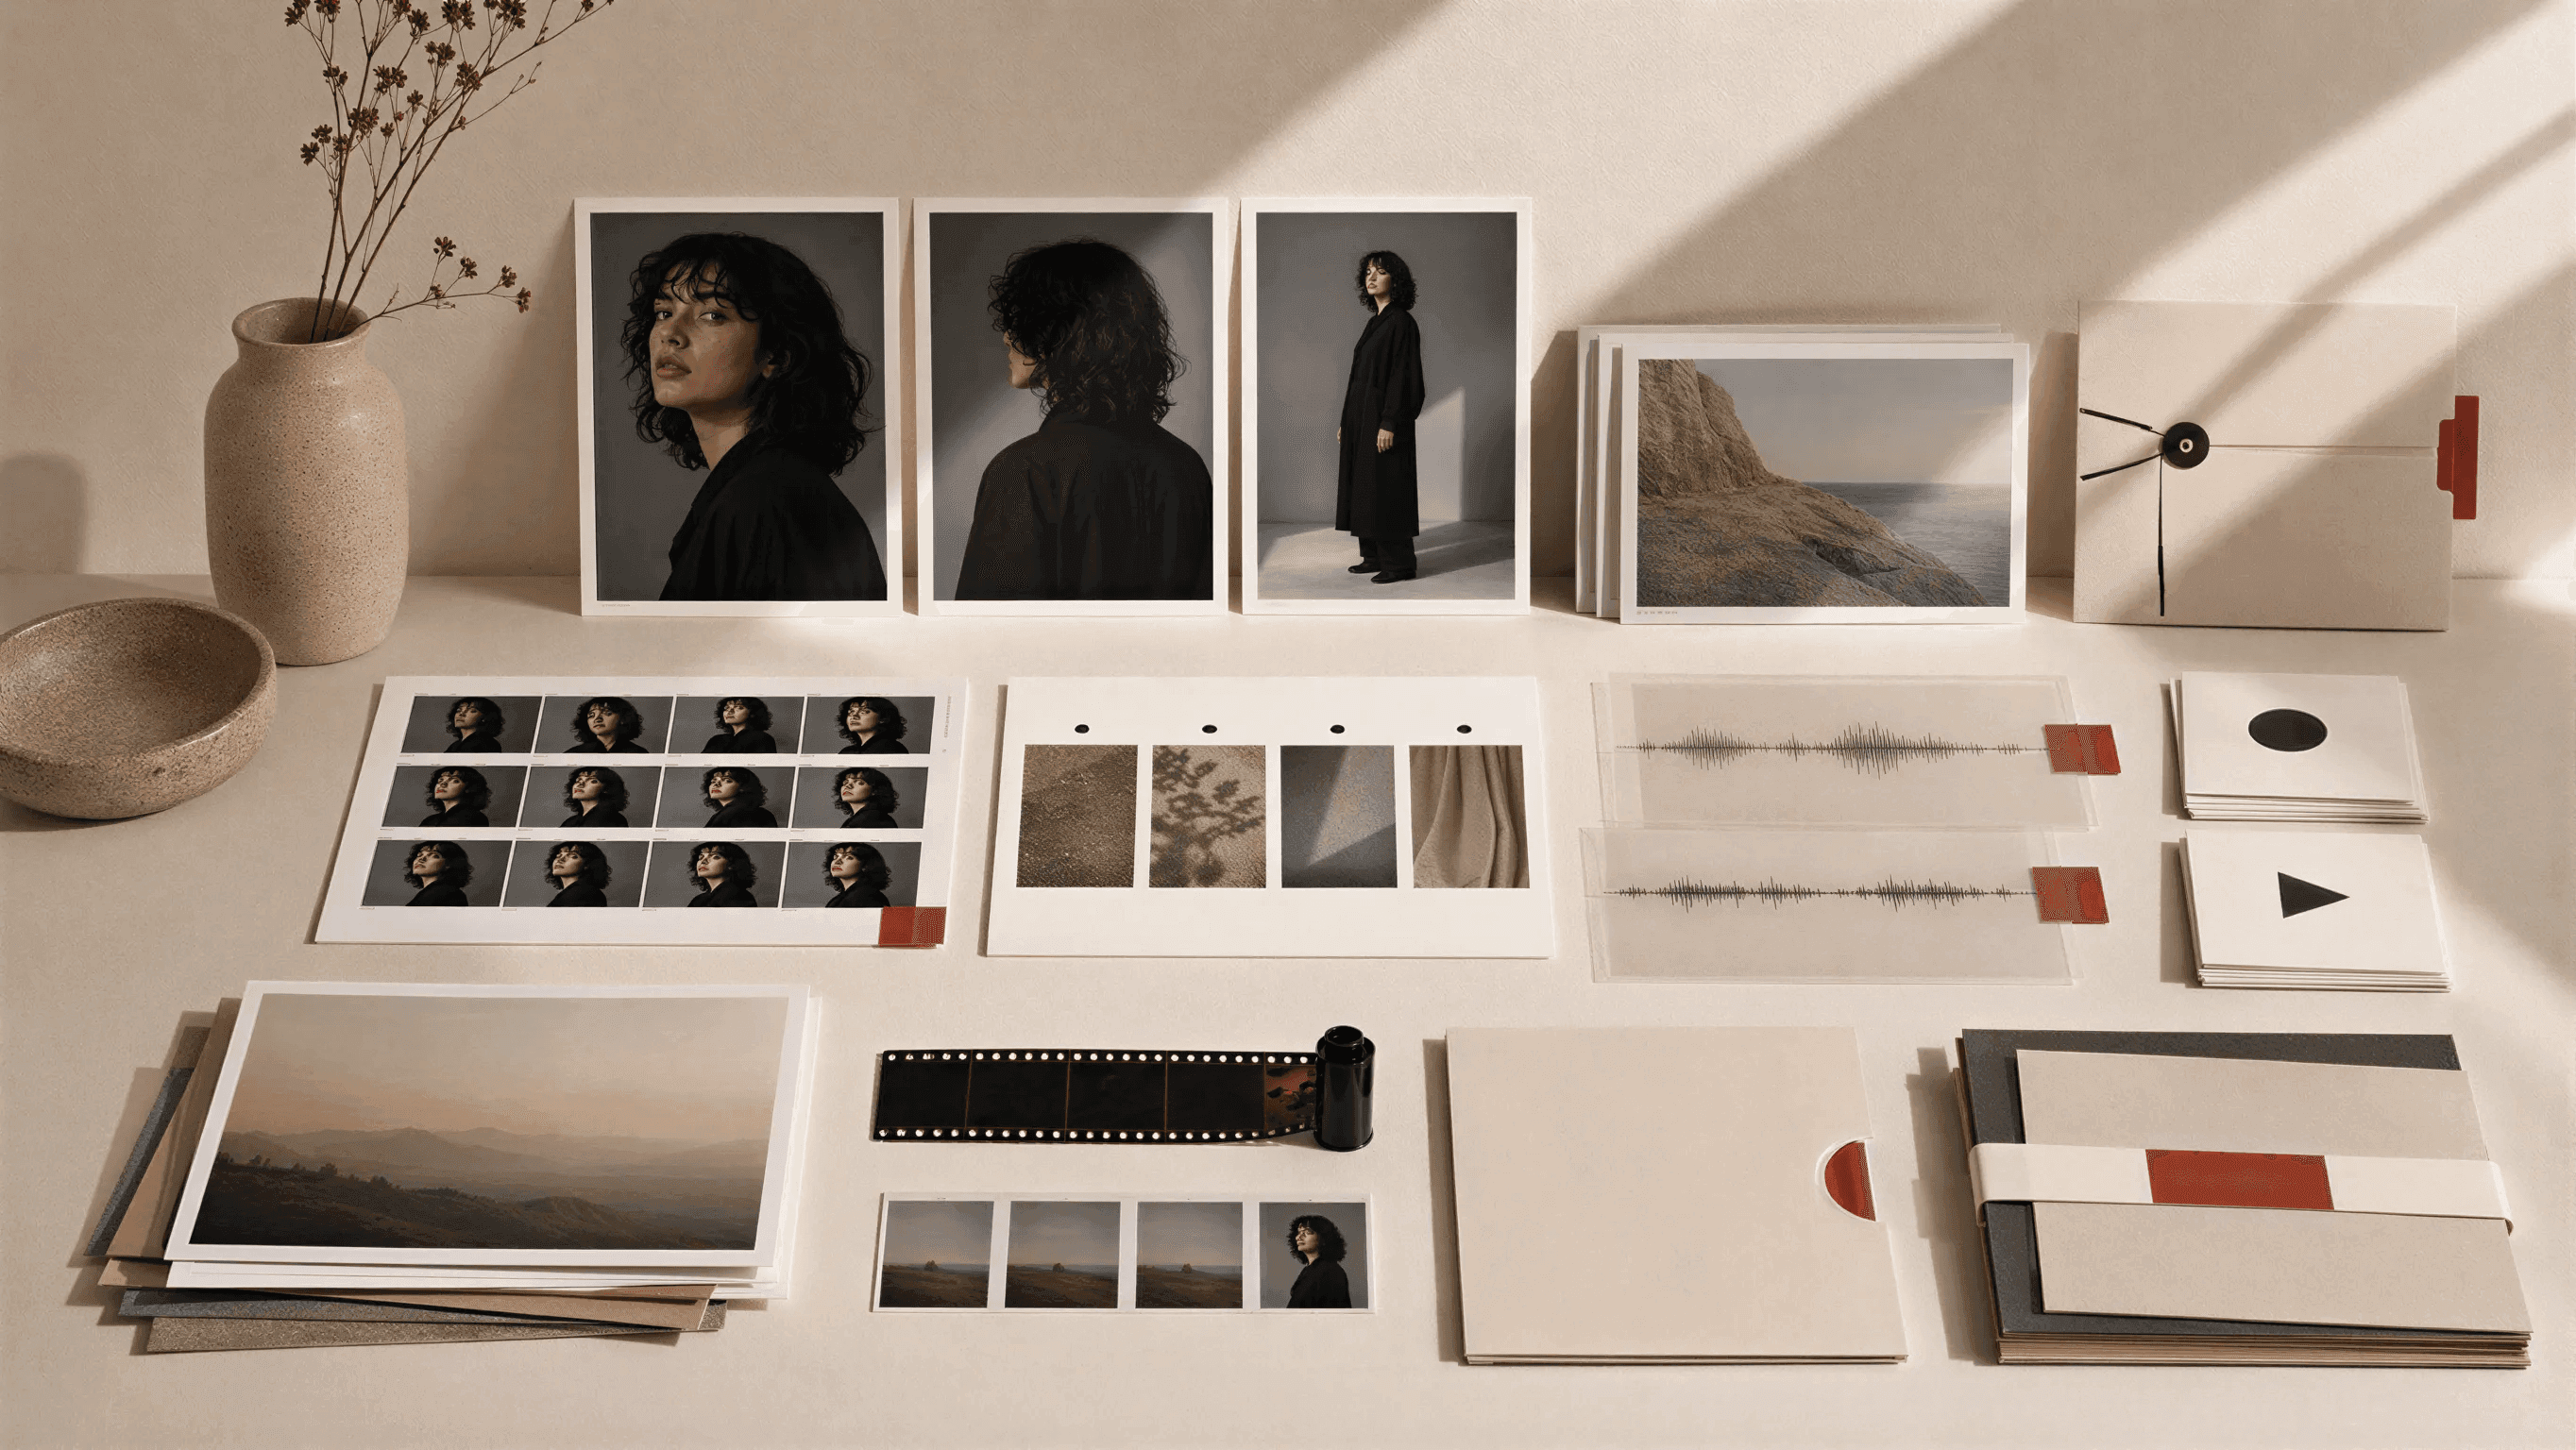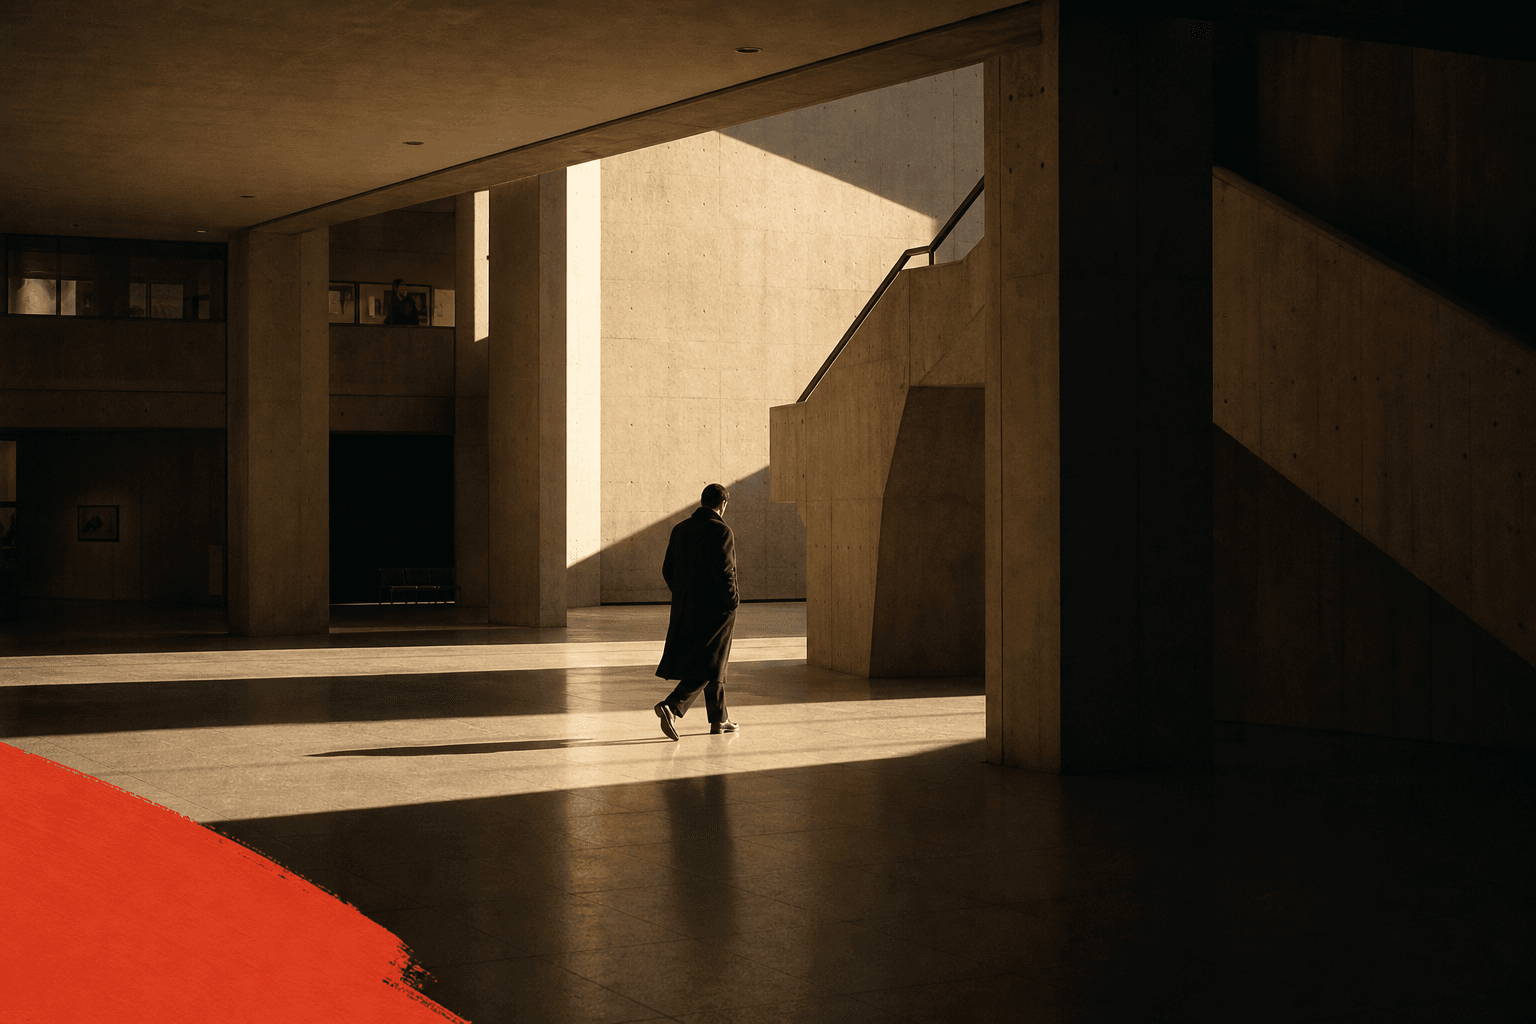
You can storyboard an AI video in two ways: upload one clean storyboard image and let Image to Video animate the whole sequence, or create START and END frames for tighter shot control. The right method depends on how much control the scene needs.
A storyboard is not only planning material. In DomoAI, it can become the actual visual input for generation.
Treat The Storyboard As A Production Board
For AI video, the storyboard is a visual contract. It tells the model what the shot is, what should move, what should stay still, and what the final edit needs.
Do not make a text-heavy storyboard sheet and expect the video model to read it like a human producer. Create clean visual panels instead:
Frames-to-video, 5s, 16:9. Use the START frame as the first composition and the END frame as the final composition. Motion: slow camera push from the wide desk shot toward the glowing blue device; character leans closer by a small amount; rain moves on the window; desk lamp flickers softly. Keep character face, round glasses, green jacket, desk layout, device shape, window position, and warm lamp direction unchanged. No generated text, no speech bubbles, no extra characters, no layout jump.- One camera angle per panel.
Wide 16:9 frame with the main subject in the lower two-thirds and empty dark sky in the upper third for title text added later. Keep the background simple, avoid busy signs, and leave clear contrast behind the future title area. No generated words, no logos, no readable signs.Create a storyboard [START/PEAK] frame for [scene type], [aspect ratio]. Subject lock: [same character, product, or object details]. Setting lock: [same location layout and key props]. Camera: [wide / close-up / over-shoulder / product macro], [height and direction]. Action: [one visible beat only]. Lighting: [time of day and light direction]. Style: [anime, cinematic, product demo, UGC, etc.]. Edit space: [where captions or title text will be added later]. Constraints: no generated text, no watermark, keep [important details] unchanged.- Enough negative space for captions or titles added later.
This is pre-viz for generation. The cleaner the board, the less you spend fixing drift later.
Choose One Storyboard Workflow
There are three useful ways to move from storyboard to video. Pick the route before you write prompts, because each route asks the model to do a different job.
| Workflow | Best for | Input | Prompt job |
|---|---|---|---|
| One storyboard image to video | Fast multi-shot sequences, trailers, music-video beats, action previews | One clean storyboard sheet or 3x3 keyframe grid | Animate the panels in order as one sequence |
| START to END frames | Controlled movement between two exact compositions | Two keyframes for the same shot | Move from frame A to frame B while preserving identity and layout |
| Separate panel animation | Maximum review control and easy replacement | Several approved still panels | Animate one panel at a time, then edit the clips together |
Use the single-storyboard route when the board already shows the full sequence clearly. Use START to END frames when the first and final composition matter. Use separate panels when one weak shot would force too much regeneration.
Write The Shot List
Start with the story, not the model.
Use a simple table:
| Shot | Purpose | Visual |
|---|---|---|
| 1 | Establish setting | Wide room, character near window |
| 2 | Show emotion | Close-up, nervous expression |
| 3 | Show action | Character reaches for object |
| 4 | End beat | Object glows on desk |
Each shot should have one job.
For a short social video, start with a 15-second / 3-shot board:
| Shot | Time | Job |
|---|---|---|
| 1 | 0-4s | Establish the character, product, or place |
| 2 | 4-10s | Show the action, demo, or emotional turn |
| 3 | 10-15s | Deliver the result, reveal, or CTA frame |
If the idea cannot fit this small board, simplify the concept before generating.
Create A 3x3 Storyboard Image
If you have one source image, use AI Image Editing or GPT Image 2 to expand it into a storyboard grid first. This gives Image to Video a visual sequence to follow instead of asking it to invent every shot from text.
The storyboard image should be clean: no captions, no labels, no white borders, no gaps, and no panel numbers. If the image contains readable text, the video model may try to preserve or distort that text.
Use this prompt when turning one source image into a storyboard sheet:
Expand ONE image into 9 cinematic keyframes for a 10-15 second sequence.
Output rules: no text, no labels, no captions, no white borders, no gaps. Place all 9 frames in one tight 3x3 grid, edge to edge, with zero spacing between panels.
Continuity rules:
- Keep the same subject, clothing, environment, and lighting in every frame.
- Do not add anything that is not implied by the original image.
- Include one wide shot, one close-up, one extreme detail shot, and one low or high angle.
- Use simple actions only.
For each frame, vary the shot type, action, camera angle, and duration.
Output one single image: seamless 3x3 grid, no gaps, no borders, no text. Frames directly touching.
Edit direction: [describe the story beats, for example: same person in rain, looking at phone, rain gets heavier, bus arrives, person turns back, boards the bus].
Style: cinematic.
After the grid is generated, review it as a video plan. The viewer should understand the order from left to right, top to bottom. If the subject changes identity or the environment jumps, fix the storyboard image before you animate it.
Create START And END Frames For Control
For exact motion control, create two frames for the same shot:
- START frame: where the shot begins.
- END or PEAK frame: the composition the shot should reach.
Use GEN Image or AI Image Editing to create these frames.
Prompt example:
Create a storyboard START frame for a 2D anime short, landscape 16:9. Same original teenage inventor: round glasses, green jacket, messy hair, focused expression. Setting: messy desk, glowing blue device on the table, rainy window behind, warm desk lamp on the left. Camera: wide shot from desk height, device in the foreground, character leaning in from the right. Style: clean storyboard line art with simple color blocking, readable composition, no generated text, no speech bubbles, no extra characters.
Animate The Storyboard
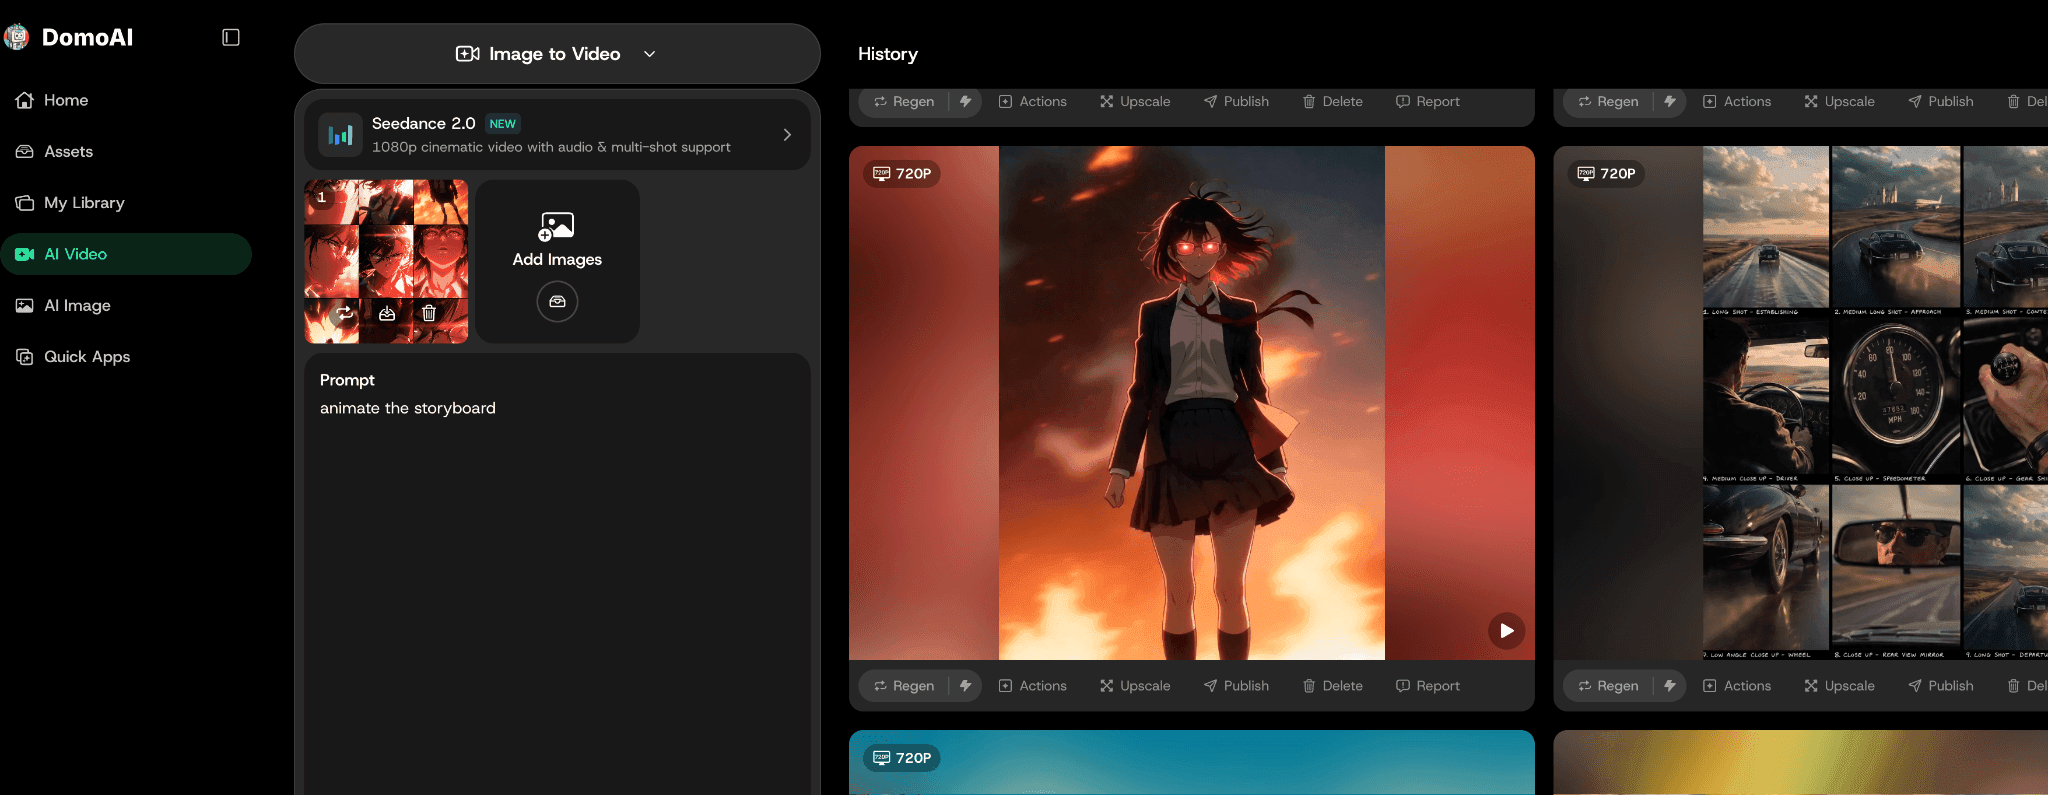
Use Image to Video with Seedance 2.0 when one storyboard image should become a complete multi-shot clip. Upload the storyboard grid as the image input, then tell the model how to read the panels.
For a storyboard grid, the prompt can be simple:
Animate the storyboard as one continuous 10-15 second cinematic sequence. Follow the panels in order from left to right, top to bottom. Keep the same subject, outfit, environment, lighting, and visual style across all shots. Use smooth transitions between panels. No added text, no logos, no new characters, no identity drift.
When the storyboard has specific shot beats, write them out:
Create a 9-shot cinematic storyboard animation sequence.
Shot 1: Wide establishing shot of [subject and setting].
Shot 2: Tracking shot moving toward [important location or object].
Shot 3: Rear or side angle revealing [new story detail].
Shot 4: Interior or over-the-shoulder shot of [character action].
Shot 5: Macro detail of [object or motion].
Shot 6: Close-up of [gesture or expression].
Shot 7: Low-angle or high-angle shot for energy.
Shot 8: Reflection or reaction shot.
Shot 9: Wide ending shot as the scene resolves.
Keep consistent character design, consistent environment, cinematic lighting, realistic motion, and smooth transitions between shots.
Use Frames to Video when START and END frames both matter. That route is better for one controlled shot, such as a product reveal, character turn, room move-in, or before-and-after transition.
Start-end motion prompt:
Frames-to-video, 5s, 16:9. Use the START frame as the first composition and the END frame as the final composition. Motion: slow camera push from the wide desk shot toward the glowing blue device; character leans closer by a small amount; rain moves on the window; desk lamp flickers softly. Keep character face, round glasses, green jacket, desk layout, device shape, window position, and warm lamp direction unchanged. No generated text, no speech bubbles, no extra characters, no layout jump.
Notice the positive constraints: the prompt says what should remain unchanged and what should move. This usually works better than relying only on a long negative prompt.
Add Negative Space For Editing
Some storyboard frames need empty space. Title cards, captions, product names, subtitles, and CTAs should usually be added after generation.
When you create the frame, ask for space:
Wide 16:9 frame with the main subject in the lower two-thirds and empty dark sky in the upper third for title text added later. Keep the background simple, avoid busy signs, and leave clear contrast behind the future title area. No generated words, no logos, no readable signs.
For vertical ads, leave the center clear and avoid placing important details near the top and bottom UI zones.
Choose The Right Animation Method
Use Image to Video when the storyboard image already contains the sequence. This is the fastest route for a 3x3 grid, trailer board, music-video board, or action preview.
Use Frames to Video when the shot changes from a known start composition to a known end composition:
- Character enters frame.
- Camera moves from wide to close-up.
- Product opens.
- Scene changes from before to after.
- Story beat moves from START to END or PEAK.
Use separate panel animation when you need to approve or replace each shot independently. This is slower, but it gives the cleanest review loop for ads, explainers, and character scenes.
Replace Weak Shots Only
Do not regenerate the whole video when one panel fails.
Replace the weak shot. Keep the approved frames. This makes iteration cheaper and calmer.
Storyboard Prompt Template
Use this reusable structure:
Create a storyboard [START/PEAK] frame for [scene type], [aspect ratio].
Subject lock: [same character, product, or object details].
Setting lock: [same location layout and key props].
Camera: [wide / close-up / over-shoulder / product macro], [height and direction].
Action: [one visible beat only].
Lighting: [time of day and light direction].
Style: [anime, cinematic, product demo, UGC, etc.].
Edit space: [where captions or title text will be added later].
Constraints: no generated text, no watermark, keep [important details] unchanged.
This keeps the frame prompt clean enough to reuse across the whole video.
Mini Example: Product Reveal Storyboard
For a product video, storyboard the proof before the polish:
| Shot | Frame goal | Prompt focus |
|---|---|---|
| 1 | Problem setup | Messy desk, cables visible, product not shown yet |
| 2 | Product introduction | Product centered, label visible, hand nearby |
| 3 | Demo action | Product solving one clear problem |
| 4 | Result frame | Clean desk, caption space, product still visible |
The storyboard prevents a common AI video mistake: making the clip look polished but unclear. Each panel has a job. If one panel does not teach or reveal anything, cut it before generating.
Mini Example: Anime Story Scene
For an anime scene, storyboard character continuity and emotional timing:
| Shot | Frame goal | Prompt focus |
|---|---|---|
| 1 | Establishing shot | Same school rooftop, sunset, character near railing |
| 2 | Reaction close-up | Same hair, same eyes, worried expression |
| 3 | Action beat | Character turns toward the sound of footsteps |
| 4 | Peak frame | Second character appears in doorway, tension visible |
Use the same character lock in every panel. The lock should include hair, eyes, outfit, accessories, and any unique silhouette detail. For story videos, the audience will forgive simple motion more easily than a changing character.
For a related continuity example, AI Character Consistency for Music Video Scenes shows how a reusable performer can stay stable across a sequence.
Storyboard Review Before Animation
Check the storyboard as a sequence:
- Can someone understand the story without reading the prompt?
- Does each shot have one visible action?
- Does the subject keep the same identity?
- Does the panel order read left to right and top to bottom?
- Is the storyboard free of labels, captions, borders, gaps, and panel numbers?
- Is the final shot strong enough to hold for a CTA or transition?
If you plan to animate one storyboard image, fix the whole grid before generation. If you plan to use START and END frames, check that both frames show the same subject, setting, lighting, and style. Motion usually makes storyboard mistakes more visible, so fix composition, hands, product labels, character identity, and text space before moving into video generation.
Common Storyboard Mistakes
The most common mistake is making every panel beautiful but not useful. A storyboard is not a moodboard. Each panel should answer a production question: where is the subject, what is changing, what must stay the same, and where will text or a cut happen?
Avoid these patterns:
- Four panels with the same camera angle.
- A product storyboard where the product is hidden until the end.
- A character storyboard where the outfit changes between panels.
- A trailer storyboard with no title space.
- A tutorial storyboard with no proof shot.
If the storyboard fails on paper, the generated video will usually fail faster. Revise the panel sequence first, then generate the frames.
Treat the storyboard as the approval layer for the whole video. Once the panels are clear, generation becomes a controlled production step instead of a guessing exercise.
If the storyboard is action-heavy, Epic Chase Scene is a useful adjacent example. For storyboard-first workflow planning, AI Storyboard Generator is the scenario anchor. For broader narrative planning, Filmmaker Solution fits creators building multi-shot scenes rather than one-off clips.
Choose The Board Type Before You Draw
Different videos need different boards. A product ad needs proof shots. An anime scene needs continuity. A trailer needs rhythm and title space. Choosing the board type keeps the outline from becoming a generic row of pretty frames.
| Video type | Storyboard must prove | Common weak point |
|---|---|---|
| Product tutorial ad | Hook, demo, result, and CTA frame | The product appears too late |
| Anime story scene | Character identity, room layout, emotional beat | The character changes between panels |
| Music video | Verse mood, chorus anchor, cutaway rhythm | Every shot has the same energy |
| Trailer | First frame, reveal, peak action, title space | No clean frame for text or thumbnail |
Use the board type as a QA checklist. If a panel does not prove the thing that video type needs, revise the still before generating motion.
Storyboard Review Checks
Use these checks before you animate. A weak panel usually becomes a weaker video once motion starts.
The video changes the story
Make the storyboard more specific. Name what happens in each shot and what must not change.
The character changes between panels
Use the same character lock and the same reference image in every panel prompt.
The shot feels random
Write the purpose of the shot first. If you cannot name the purpose, cut the shot.
The generated frame has bad text
Remove text from the generation prompt. Leave space for titles and add them in editing.
FAQ
Can I generate a full AI video from one storyboard image?
Yes. Upload one clean storyboard grid to Image to Video, then prompt DomoAI to animate the panels in order as one continuous sequence.
When should I use START and END frames?
Use START and END frames when one shot needs a precise first composition and final composition, such as a product reveal or camera move.
Is a storyboard the same as a prompt list?
No. A prompt list describes shots. A storyboard gives each shot a visual reference that can be approved before generation.
Should a storyboard grid include text or labels?
No. Keep the grid free of captions, panel numbers, borders, and labels so the video model focuses on the visual sequence.
Which DomoAI feature should I use?
Use DomoAI Text to Image or AI models like GPT-Image 2 to create frames or grids. Use Image to Video for a full storyboard sequence, and Frames to Video for controlled start-end motion.
Can storyboards help ads?
Yes. They help product teams plan hook, demo, proof, and CTA before generating clips.
Build the storyboard first, then choose whether to animate the whole board or control one shot with start-end frames.